

Language:
Español
Index
Forms
Strongback
Stripping
Epoxy
Coaming
Hatches
Closing
Related info
Questions
Bibliography
Peperina team
Other kayakers
Link page
The curvature of the deck is interrupted by the 'hole' for the cockpit. This slightly complicates applying the glass cloth, and must be done more carefully than with the hull.
On the other hand, the extremes of the bow and stern are more complicated, as they are sharper. The glass wouldn't conform, and I has to cut the cloth and fold the sides over one another.

|
The cloth laid out over the deck.
|
|
|
|

|
|
|
Near what will be the cockpit.
|
||

|
|
|
|
Partly (the stern) impregnated with resin.
|
||
|
|

|
|
|
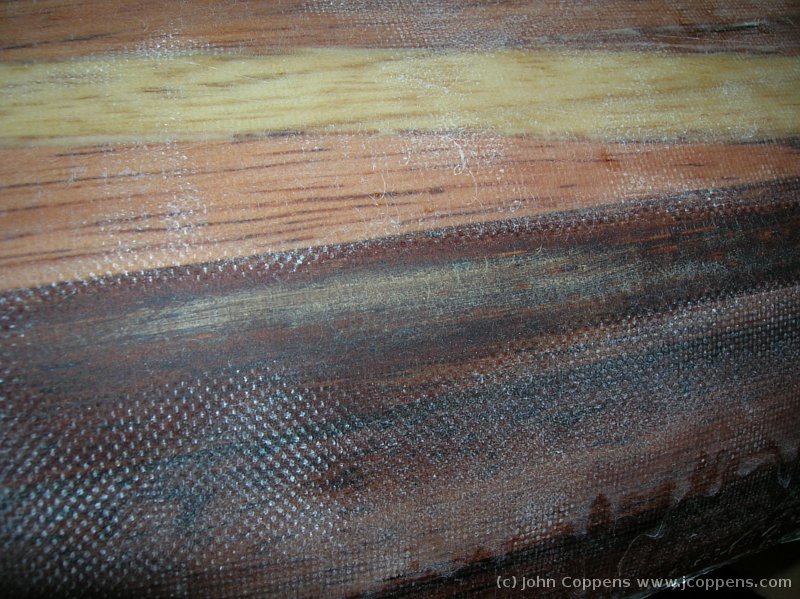
Still nearer the stern. The real colors of the wood reappear after
a long time!
|
||

|
|
|
|
And the bow - note once again the plastic wrap, this time with a
wrench as weight.
|
||
|
|

|
|
|
Closeup of the bow.
|
||

|
|
|
|
And once again, the pressure of the wrap wasn't enough, and some air
did enter. I didn't want to exert much more pressure either.
|
||
|
|

|
|
|
My invention to apply the epoxy: the squeegees didn't work out
here (maybe the quality wasn't good enough), but a strip of Foamy
(called 'goma EVA' for it's product name Ethylene Vynil Acetate)
worked marvels.
|
||

|
|
|
|
A small bubble remained near the stern...
|
||
|
|

|
|
|
... which disappeared after a subcutaneoud epoxy injection.
|
||
|
|
|
|
Overenthusiasm... I went right through the cloth. The 160 gr/m
fiberglass resulted much more delicate than the 200 gr/m I used
in the previous kayak - maybe because the weave is much finer.
I'll have to reapply a piece here... and sand again.
|
||
Continues with manufacturing the cockpit coaming.
| (c) John Coppens ON6JC/LW3HAZ |