

Language:
Español
Index
Forms
Strongback
Stripping
Epoxy
Coaming
Hatches
Closing
Related info
Questions
Bibliography
Peperina team
Other kayakers
Link page

|
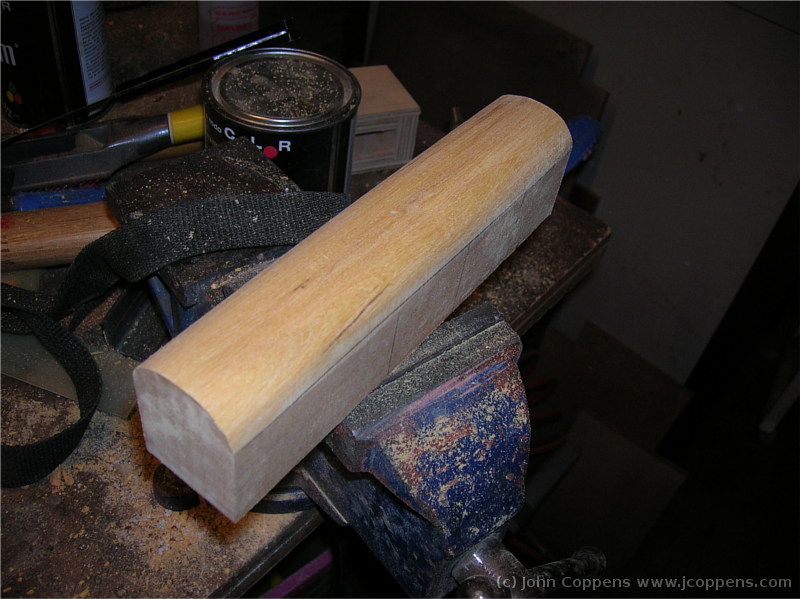
A hardwood block, divided in four to obtain the four fixing points.
About 12 mm from the top, a line indicating the height of the result.
|
|
|
|

|
|
|
A quick mill at about 45 reduces the sanding time dramatically.
|
||

|
|
|
|
View from above, of the 45 degree mill.
|
||
|
|
|
|
|
And after a first sanding it looks like this...
|
||

|
|
|
|
... so we can cut of the 12 mm layer.
|
||
|
|

|
|
|
And divide the block in four.
|
||

|
|
|
|
On each block, I marked the width of the strap, plus 1 mm at each
side to take into account epoxy and paint.
|
||
|
|

|
|
|
I made the track for the strap, using a chisel and file. Maybe I
could have used the router, but, as the deck is curved, it's really
necessary to make the track deeper at the center, which is difficult
to do.
|
||

|
|
|
|
A couple of layers of epoxi on the track, and the blocks glued to the
deck. Locating them near the edge of the opening helps aligning the
cover.
|
||
|
|

|
|
|
And the final result, with the straps, in the salt waters of the Laguna Mar Chiquita Wetlands (Córdoba, Argentina).
|
||
Continues with Finishing.
7589| (c) John Coppens ON6JC/LW3HAZ |