

Language:
Español
More info:
FAQ
Bibliography
Peperina team
Other kayaks
Links
Kayakers
Products

|
Once the hatch frames for the deck have been finished, it's time to
to the same for the covers (reversed). To facilitate the adjusting,
and to ease closing, it's advisable to round the upper side of the
frame. Here, I'm testing the cover fit, still without sides.
|
|
|
|

|
|
|
The routine is similar to the deck side. Estimate and cut a strip
both the length and angle at one end. Careful!: On the cover,
the strips get longer downwards (as they lean slightly outwards).
Don't cut them too short - a 3 or 4 mm extra should do it.
Again, I temporarily glued with fast epoxy glue, helped by duct tape.
The kitchen wrap avoids sticking the cover to the deck frame.
|
||

|
|
|
|
Sliding the cover slightly to the right (in this case), permits
resting the slat on the deck part of the frame, and assure the
correct angle the easy way.
|
||
|
|
|
|
|
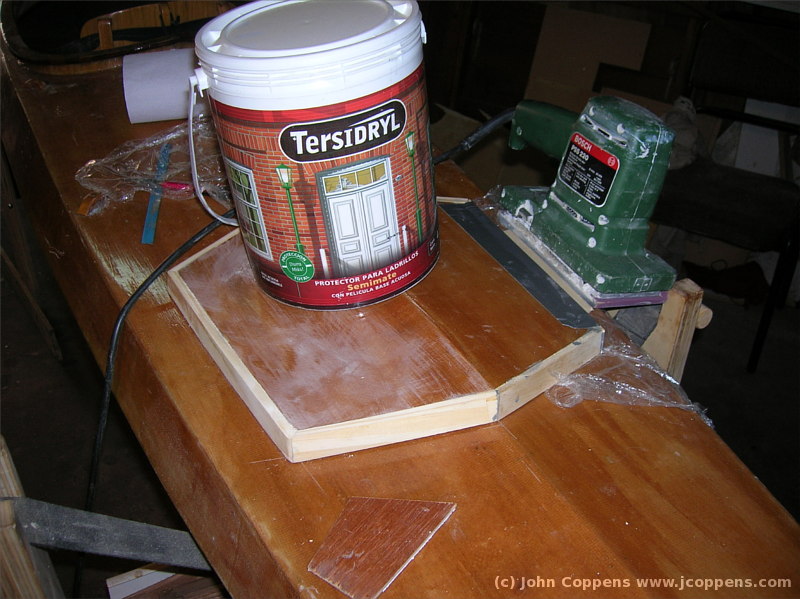
The frame of the cover is ready! The paint container is not
publicity. The hatch cover slightly straightened after cutting it
out and the extra weight help to maintain the correct angle.
|
||

|
|
|
|
One of the corners of the cover... Practice makes perfect!
|
||
|
|

|
|
|
A view from below deck - light seeps through several - unglued -
openings. These will close after applying putty.
|
||

|
|
|
|
Before applying putty, I painted the interior of the frame, and an
area of the inside of the deck around the opening, with epoxy, and
applied fibreglass tape to the union. I started fixing the tape
to the frame, then made a slit at each corner to fold the tape towards
the deck. The (hardened) tape will help keeping the putty in place,
applied from the top.
|
||
|
|

|
|
|
Here's the tape, applied to the frame. It's too high at some
places, but it's easier to sand it off later than to try and
correct the height now.
|
||

|
|
|
|
Now we can apply the putty (epoxy mixed with talcum powder or
some other filler). I found it easy to apply the putty using a
syringe. After application, passing a (latex gloved-) finger
over the putty provides a nice termination.
|
||
|
|

|
|
|
In the covers, I applied a piece of fibre cloth over the entire
surface, doubling down the sides to fix the frame (here seen before
the sanding).
|
||
|
|
|
|
The deck eyes for the elastics...
|
||
|
|

|
|
|
... and view from above. The entire area around the hatch was
slightly sanded. I have to repaint the entire kayak - a necessity
after 9 years of use!
|
||

|
|
|
|
At night, before storing the project on the wall, I noted this
nice sight - illuminated only with a single light source inside
the hull.
|
||
|
|

|
|
|
Close-up of one of the deck eyes. Sanding the deck before glueing
is very important!
|
||

|
|
|
|
The deck eyes on the covers, to ensure the covers don't get blown
away in use!
|
||
|
|

|
|
|
The hatch in on the water. It actually looks far better than I
expected!
|
||

|
|
|
|
Both hatches, and a splendid day for touring a local river...
|
||
|
|

|
|
|
A look from above at the forward hatch, at a meeting of kayakers trying
to revive a local old rowing club.
|
||

|
|
|
|
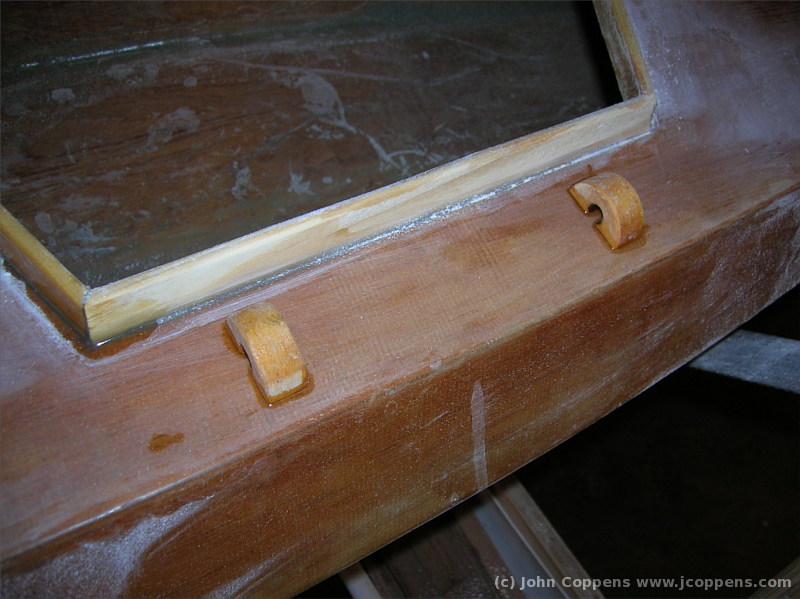
And an even more raised view of the aft hatch. For some reason, I never
made any pictures of the wooden 'hook' I used to criss-cross the
elastics over the cover.
|
||
| (c) John Coppens ON6JC/LW3HAZ |